
Using the computer is so much more than just getting things done. It’s a whole involving and engaging experience and it must also be a pleasant one. Visual effects are therefore key in ensuring that the experience doesn’t become boring. The beauty of it is that Windows 10 comes in with a lot of features that are meant to enhance this experience. There are multitudes of pallets specifically designed for different tastes and which have pretty varied appeals. Let’s take a closer look at the very basic of these visual effects; the default fonts. Here is how to customise it into something that has a personal and attractive appeal to each user.
See also: How to enable tablet mode in Windows 10
Registry Settings Backup
First of all, execute the following commands to ensure a backup for the restoration of the original settings. This is important in case of errors.
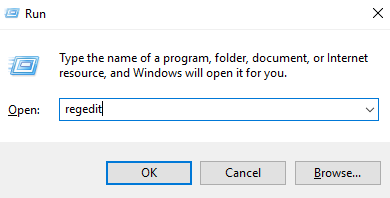
- Press ‘windows’ and R key.
- Type regedit in the resulting box and enter to execute.
- On the resulting panel, click on the file, then select export and save it to any desired location.
Changing the Fonts
The earlier releases of Windows 10 were much easier to manipulate and change the font by simply opening the settings panel in the control menu and selecting the proffered font to set as the default. Users who haven’t really updated their software can still do that (basically those that haven’t connected the device to any working network connection because these updates are mostly automatic and it’s easy not to notice them). Also, note that personalisation is only possible in an activated Windows 10.
- Click on the start menu in the left lower corner of the screen and select the control panel to reveal the available features options.
- Locate the ‘appearance’ or ‘personalisation’ panel and select it with a regular double-click motion.
- There is a subheading within this, tagged ‘fonts’, usually on the list to the left side of the screen, select it.
- Several fonts at disposal will appear on the screen with sample texts of what it will look like in operation. Select the desired one from the options.
- Next enter the following code into the Notepad application;
“Segoe UI (TrueType)”=””
“Segoe UI Bold (TrueType)”=””
“Segoe UI Bold Italic (TrueType)”=””
“Segoe UI Italic (TrueType)”=””
“Segoe UI Light (TrueType)”=””
“Segoe UI Semibold (TrueType)”=””
“Segoe UI Symbol (TrueType)”=””
“Segoe UI”=”NewFont”
- In the last stance of the code, replace the text ‘newfont’ with the name of the desired font.
- Initiate the save option from the top listed options and proceed to save it as a .reg file, save as ‘all files’.
- Now double click on the file you just created to merge with the registry and acknowledge the action when prompted by the application.
- Once complete, simply close down all applications and restart the computer.
These font modifications are customisable to experience better visual in just about every aspect of the user interface whether its popup messages, name tags and so much more! The new-look will be in effect as soon as you restart the machine and you can enjoy the exciting new look. If you’re not satisfied with the results and would like to try a different look, simply repeat the process and select the alternative font instead.
Caution!
It is very critical to practice caution when meddling about in the windows registry. This is a very powerful tool that can easily affect device performance or even cause serious performance and operational issues if incorrectly done. To be safe:
- Make sure you do create a backup restore point just before executing the desired font changes in the registry in case something goes on as described. This will protect your data and help make a perfect recovery.
- Ensure you understand the instructions perfectly first before attempting the modifications. If in doubt, consult with an IT expert first.